
Archiving Albums - Technical Setup
As part of my family archive project, I may end up removing photos from their albums to reduce the space they take up in storage. I’m aware that deconstructing them could be a little emotional but before I get to that point I want to ensure that as well as scanning the individual photographs I also document their placement within the narrative of the albums in which they have been stuck.
Whether they were placed into the albums in a hurry or care was taken in their construction I want to preserve the editorial decisions that were made at the time they were put together. To just scan the individual photos would seem to miss an opportunity to capture and reflect on the wider story.
In trying to establish a formula for photographing the pages of each photo album, and indeed any other 3D artefacts that may make their way into the archive, I worked through a few increasingly complex set-ups until I landed on the method I plan to use.
Natural Light?
Our house has a large bi-fold door leading into the garden so before getting any artificial lights out I thought I would test to see if the sun behind clouds would give me a lovely soft and even light with which to capture these albums. It only took one shot to confirm that life wasn’t going to be that easy.

Cranefield, R. (2024). Untitled Natural Light Album Test Shot
Whilst the clouds provided for a lovely soft light it was still quite directional which didn’t suit the rippled nature of the photo album plastic. I did consider peeling back the plastic covers for each page, and whilst this improved things a little I didn’t want to have to do that for every page of every album if I could help it.

Cranefield, R. (2024). Natural Light Album Test Shot, plastic removed.
Ring Light?
My next setup used a ring light with the camera mounted in the centre. In portraits, this would produce an evenly lit central subject with an evenly distributed shadow around the edges so I hoped it would do the same for an object.
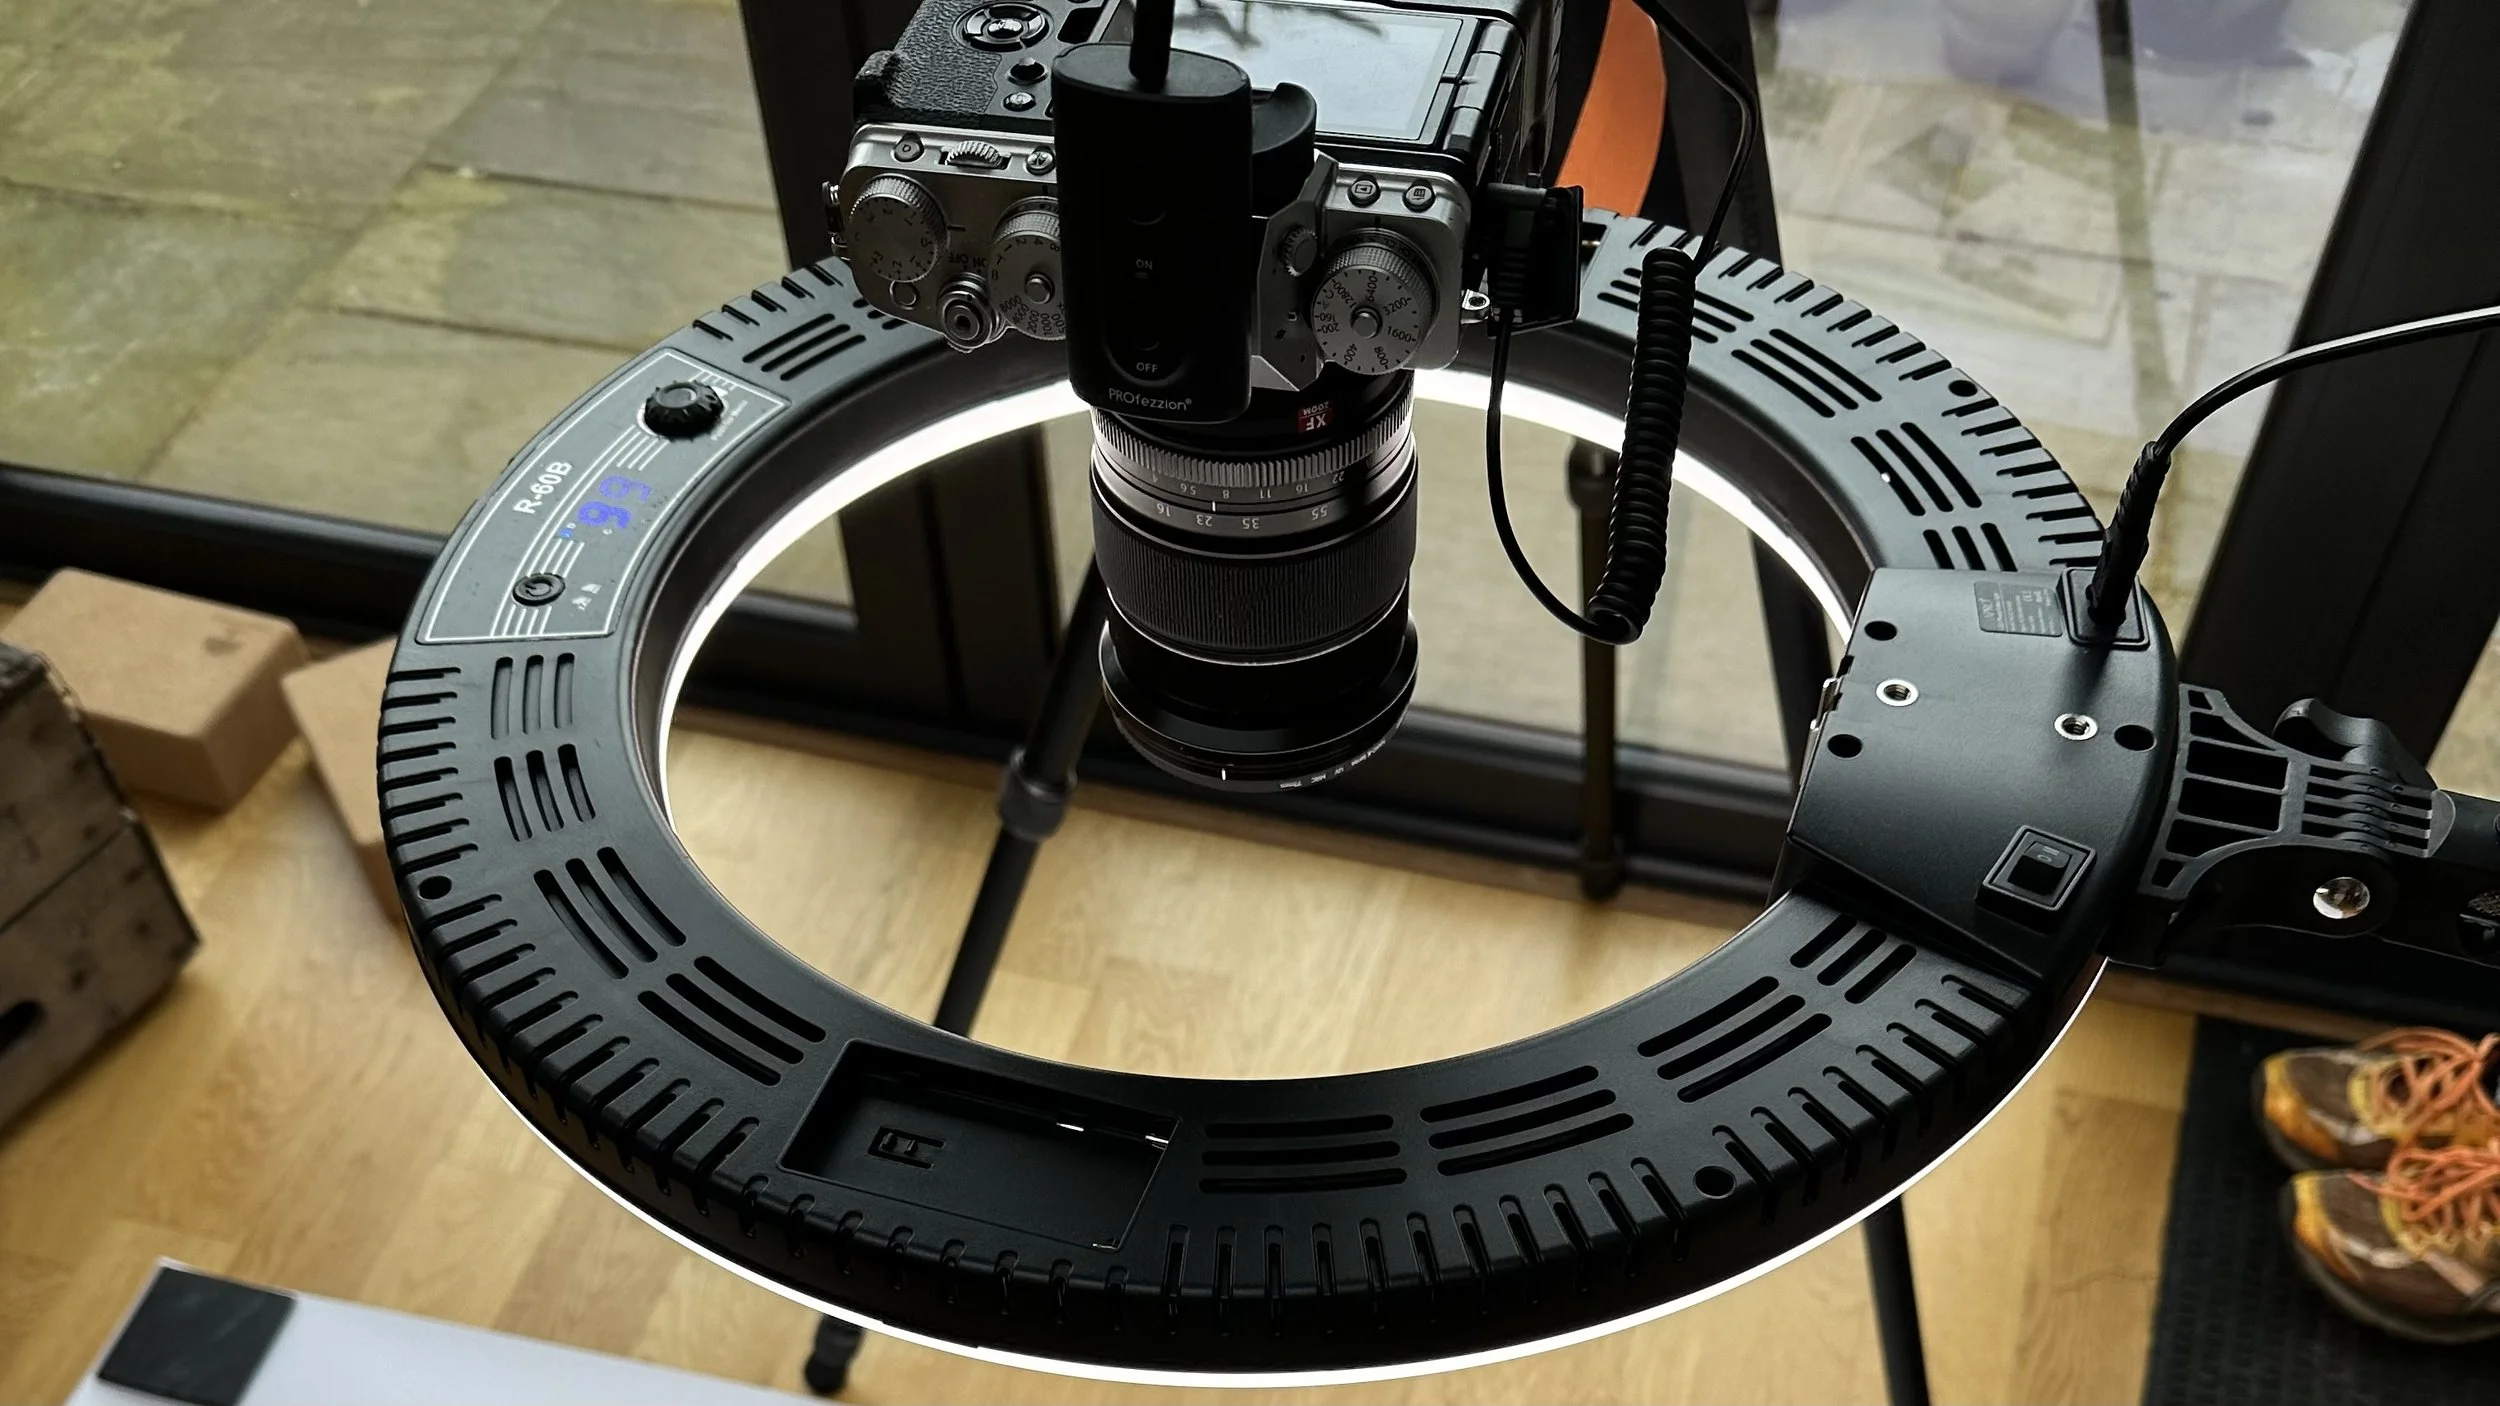
Cranefield, R. (2024). Ring light test set-up
The results were much better than natural light, and did give a nice even shadow around the edge. But, much like the catch lights in a model’s eyes, the plastic page coverings reflected a little at their peaks - where they bend - and so the result wasn’t quite as perfect as I might have hoped.

Cranefield, R. (2024). Ring light test shot.
Dual Softbox
I’ll be honest this is the set-up I thought I would end up using but had gone through the previous tests, partly out of interest and partly because this final set-up required pulling the most equipment out of my store.
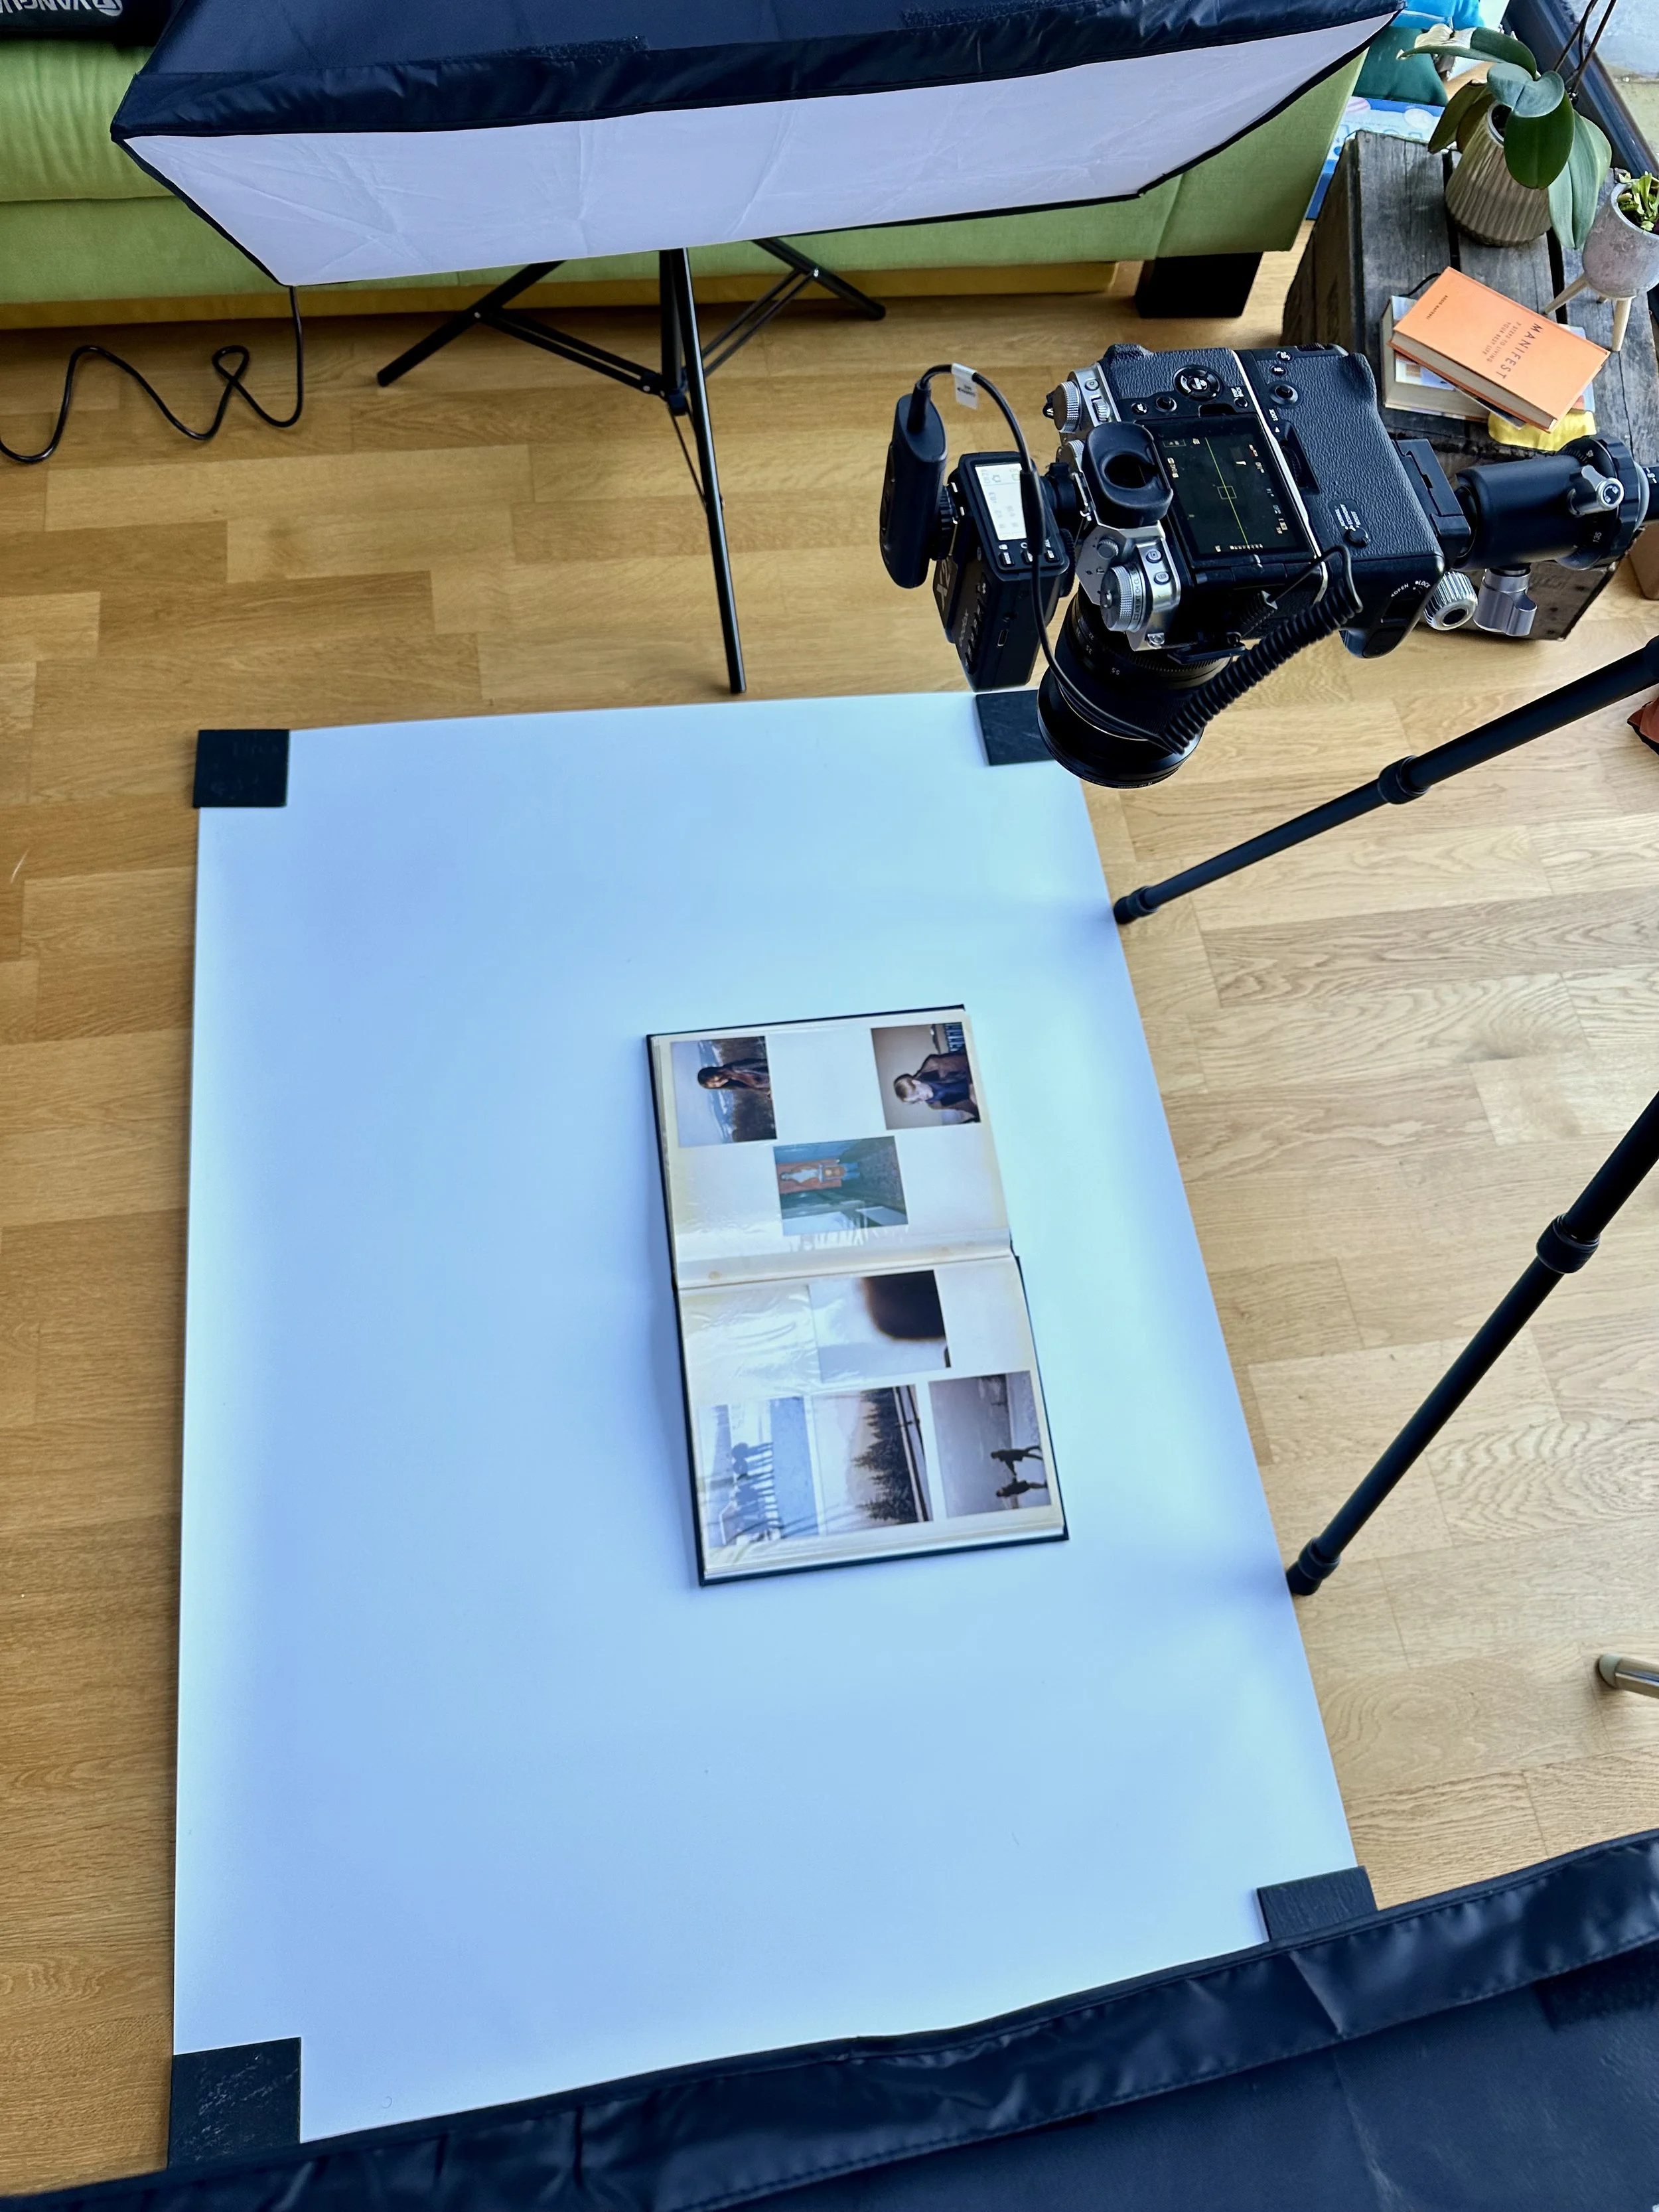
Cranefield, R. (2024). Softbox configuration 1
With a table and some smaller lights, this configuration need not take up quite so much room, however it is what I have to work with. I positioned the soft boxes angled at 45 degrees to the floor and spaced them so that the album was equidistant between the two.
As pictured above there was still some reflection along the ridge of the pages but rotating the album through 90 degrees so that the spine ran at right angles to the line of the soft-boxes removed that reflection.

Cranefield, R. (2024) Softbox configuration 2, the preferred setup.
This final configuration isn’t perfect, it does leave a soft shadow at the top and bottom of the image but it renders a clean representation of the pages themselves with no reflection and an even coverage of light.

Cranefield, R (2024). Test shot result. Dual soft box at right angles to spine.
Note the apparent vignette in the image isn’t due to the lighting but down to the colouration of the edge of the pages.
It is possible with a lot of photography to get too far into the tech and not step back and think about what the images we make are trying to convey. In this instance however, there is a clear need to get the technical set-up correct as digitising this archive will take time and I only want to have to do it once.
I am sure, if I had googled it, I could have found the end result without having to spend the best part of the day running different tests, but there is joy in exploration even if you are going where many others have already been as the learning is as important, if not more so, than the knowing.
This set-up will work for books, albums but also other physical assets I might end up capturing. Although the tests took the best part of a day with a camera remote in my hand I managed to photograph the pages of 12 albums in the space of about an hour.
The next step is to scan the images individually and start to build the catalogue.